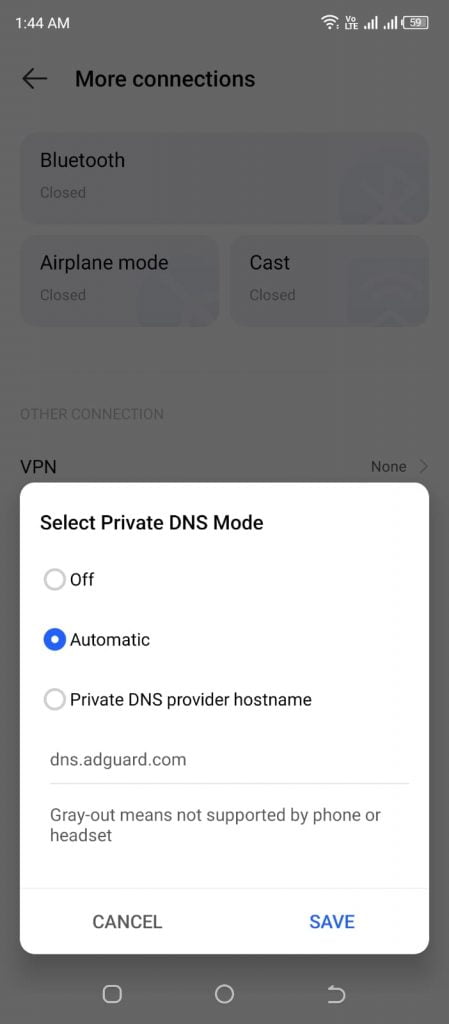
Are you looking to turn on Private DNS Mode on your Android? This is a great way to increase your online security and privacy.
To enable Private DNS Mode on Android, you first need to make sure your device is running Android 9 or higher. If it is, open the Settings app and tap on Network & Internet. Next, tap on the gear icon next to the name of the network you’re connected to, or tap on Advanced if you’re connected to a Wi-Fi network. You’ll then see an option to “Private DNS”, tap on this. You will then have the option to enter a DNS server address. To use Google’s public DNS, enter “dns.google”. Tap Save, and you’re done!

Some recommended hostnames for secure browsing on Android phones include.
- Open DNS: 208.67.222.222
- Quad9: dns.quad9.net
- Cleanbrowsing DNS: security-filter-dns.cleanbrowsing.org
- Comodo Secure 8.26.56.26
- NextDNS: 45.90.28.0
You should now be able to browse the web more securely and with more privacy, as your DNS requests are sent to a trusted server. Keep in mind that some websites may not work properly if you use a private DNS server.
So, there you have it. Turning on Private DNS Mode on your Android is easy and can help increase your online security and privacy. Be sure to check your device’s user manual for more detailed instructions, as steps may vary depending on the device you’re using.


