

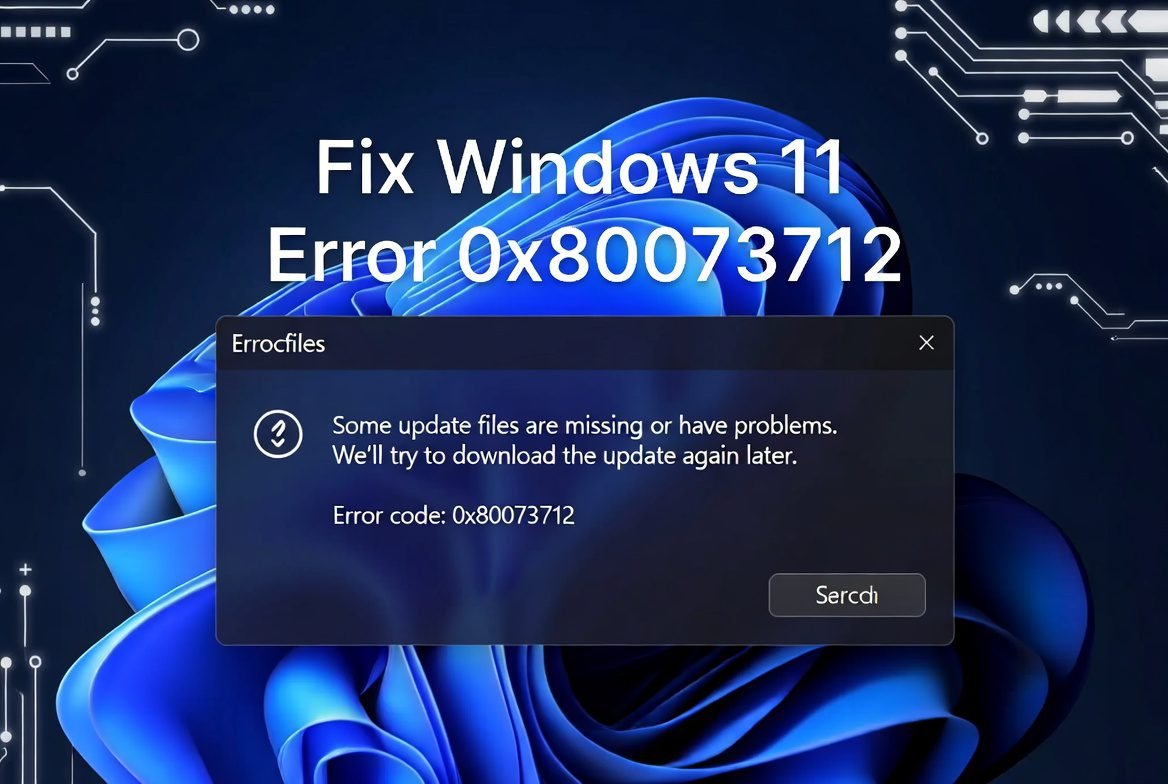
If you’ve recently tried to update your Windows 11 PC and been stopped dead in your tracks by the message “Some update files are missing or have problems. We’ll try to download the update again later. Error code: (0x80073712)” — you’re definitely not alone.
In early 2026, this error became one of the most searched Windows problems on the internet, largely due to Microsoft’s troubled rollout of several cumulative updates. The March 2026 preview update KB5079391 caused such widespread installation failures that Microsoft had to pull the patch entirely and release an emergency out-of-band fix. But even before that incident, error 0x80073712 has long been a frustrating stumbling block for Windows 11 users across versions 23H2, 24H2, and 25H2.
In this guide, we’ll break down exactly what this error means, why it happens, and walk you through every fix — from the simplest one-click solutions to the more advanced command-line repairs — so you can get your Windows updates running smoothly again.
What Is Windows 11 Update Error 0x80073712?
In plain language, error 0x80073712 means: Windows is trying to install an update, but one or more files it needs are either missing or damaged.


Technically speaking, this error points to corruption in Windows’ component store — specifically the WinSxS folder, which stores all the components Windows needs for its updates and features. When this store gets corrupted, Windows Update can’t assemble the update package correctly, and the installation fails.
The error message itself is deceptively vague. Windows tells you it will “try again later,” but left unchecked, this error doesn’t fix itself. In some cases it blocks all future updates, leaving your system vulnerable to security threats and missing out on bug fixes and performance improvements.
What Caused the 2026 Wave of 0x80073712 Errors?
While this error has existed in various forms for years, 2026 saw a notable spike due to Microsoft’s own update quality issues.
In March 2026, Microsoft released the optional preview update KB5079391 for Windows 11 versions 24H2 and 25H2. Shortly after its release, users reported that the update was getting stuck in an endless loop — downloading, attempting to install, and then crashing with error 0x80073712. The problem was widespread enough that Microsoft temporarily pulled the update from Windows Update entirely.
Microsoft later released an emergency out-of-band patch, KB5086672, specifically to fix the installation failure caused by KB5079391. This is not a generic fix for every instance of 0x80073712 — it is a targeted patch for users on Windows 11 24H2 and 25H2 who encountered this specific March 2026 failure.
But 0x80073712 can appear in many other situations too. In January 2026, the cumulative update KB5074109 caused boot failures and black screen errors on some machines, leaving systems in an “improper state” that could trigger further update errors. And in February 2026, the same error code appeared for users trying to install KB5077181.
So regardless of which update triggered the error on your machine, the root problem is almost always one of the following.
Common Causes of Error 0x80073712
Understanding the cause helps you pick the right fix. Here are the most common culprits:
1. Corrupted System Files The most frequent cause. If core Windows files in the component store (WinSxS) are damaged or missing — whether from a previous failed update, power interruption, or disk error — Windows Update simply can’t complete its work.
2. Incomplete or Interrupted Update Downloads If a previous update was downloaded only partially — due to a network drop, forced shutdown, or accidental restart — the leftover fragments can corrupt the update cache and block new installations.
3. Corrupted Windows Update Cache The SoftwareDistribution folder is where Windows temporarily stores downloaded update files. If this folder becomes corrupted or gets stuck in a bad state, every new update attempt will fail.
4. Microsoft’s Own Buggy Update (KB5079391) As described above, the March 2026 preview update had a bug that caused it to loop and fail with this exact error code. If you installed it in late March 2026, this specific cause applies to you, and the fix is simpler than the others.
5. Interference from Antivirus or VPN Software Third-party security software sometimes blocks Windows Update processes or flags update files as suspicious, causing incomplete downloads and failed installations.
6. Disk Issues or Bad Sectors Failing drives or bad sectors on your storage device can corrupt files mid-download. This is less common but worth checking if all other fixes fail.
How to Fix Windows 11 Update Error 0x80073712
Work through these fixes in order. Most users resolve the issue within the first two or three steps.
Contents
- 1 Fix 1: Install KB5086672 (If You’re on Windows 11 24H2 or 25H2)
- 2 Fix 2: Run the Windows Update Troubleshooter
- 3 Fix 3: Run SFC (System File Checker)
- 4 Fix 4: Run DISM to Repair the Component Store
- 5 Fix 5: Reset the Windows Update Components Manually
- 6 Fix 6: Delete the Pending.xml File
- 7 Fix 7: Run a Full Antivirus Scan
- 8 Fix 8: Manually Download and Install the Update
- 9 Fix 9: Use Windows Recovery / In-Place Upgrade (Advanced)
Fix 1: Install KB5086672 (If You’re on Windows 11 24H2 or 25H2)
If your error appeared specifically after trying to install the March 2026 preview update KB5079391, Microsoft has already released the official fix.
- Open Settings → Windows Update
- Click Check for updates
- Look for KB5086672 and install it
- If it doesn’t appear automatically, go to the Microsoft Update Catalog, search for KB5086672, and download the version that matches your system (x64 or ARM64)
- Run the downloaded installer and restart your PC
This cumulative out-of-band update includes everything from the failed KB5079391 plus the fix itself, so you won’t miss any features or security patches.
Fix 2: Run the Windows Update Troubleshooter
This is always the best first step for any update error. Windows has a built-in tool that automatically detects and repairs common update problems.
- Press Win + I to open Settings
- Go to System → Troubleshoot → Other troubleshooters
- Find Windows Update in the list and click Run
- Wait for the scan to complete and follow any on-screen recommendations
- Restart your PC and try the update again
The troubleshooter can often clear stuck processes and reset corrupted update components automatically, without you needing to touch the command line.
Fix 3: Run SFC (System File Checker)
The System File Checker scans all protected Windows system files and replaces corrupted or missing ones. This directly addresses the root cause of most 0x80073712 errors.
- Click Start, type cmd, right-click Command Prompt, and select Run as administrator
- Type the following command and press Enter:
sfc /scannow
- The scan can take anywhere from 10 minutes to an hour depending on your system. Do not close the window or restart your PC during this process.
- Once complete, you’ll see one of three messages:
- “No integrity violations found” — no corruption detected
- “Found corrupt files and successfully repaired them” — problem fixed, try updating again
- “Found corrupt files but was unable to repair some of them” — proceed to Fix 4 (DISM)
- Restart your PC and check Windows Update
Fix 4: Run DISM to Repair the Component Store
If SFC couldn’t fix everything, DISM (Deployment Image Servicing and Management) is your next tool. It connects to Windows Update servers to download clean replacement files for anything corrupted in your system image.
- Open Command Prompt as administrator (same steps as above)
- Run these commands one at a time, pressing Enter after each and waiting for each to finish:
DISM /Online /Cleanup-Image /CheckHealth
DISM /Online /Cleanup-Image /ScanHealth
DISM /Online /Cleanup-Image /RestoreHealth
- The RestoreHealth command can take 15–30 minutes and may appear to stall at certain percentage points — this is normal, just let it run
- Once complete, restart your PC
- Run sfc /scannow again (from Fix 3) to catch anything DISM’s repair may have unlocked
- Try Windows Update again
This two-step combination of DISM followed by SFC is the most reliable solution for corruption-related update failures.
Fix 5: Reset the Windows Update Components Manually
Sometimes the Windows Update service itself gets stuck in a broken state. Resetting it clears the corrupted cache and forces a fresh start.
- Open Command Prompt as administrator
- Run the following commands one by one:
net stop bits
net stop wuauserv
ren %systemroot%\SoftwareDistribution SoftwareDistribution.bak
ren %systemroot%\system32\catroot2 catroot2.bak
net start bits
net start wuauserv
- Restart your PC
- Go to Settings → Windows Update → Check for updates
What this does: it stops the Windows Update and Background Intelligent Transfer Service (BITS), renames the corrupted SoftwareDistribution folder (Windows will automatically create a fresh one), then restarts both services. This is one of the most effective fixes when the error is caused by a corrupted update cache.
Fix 6: Delete the Pending.xml File
A stuck pending.xml file can sometimes block new updates from installing, especially if a previous update was abandoned mid-process.
- Open Command Prompt as administrator
- Run:
ren C:\Windows\WinSxS\pending.xml pending.xml.bak
- Restart your PC and try the update again
If the file doesn’t exist, you’ll get an error message — that just means this isn’t your issue, and you can move on.
Fix 7: Run a Full Antivirus Scan
If you suspect your security software may be interfering, temporarily disable your third-party antivirus and VPN, then try the update. If it succeeds, the security software was the problem — check its settings for Windows Update exceptions or contact the software’s support team.
Conversely, if you haven’t run a full scan recently, run Windows Defender (or your preferred antivirus) to rule out malware as a cause of the file corruption.
Fix 8: Manually Download and Install the Update
If Windows Update itself is the problem, bypass it entirely by downloading the update directly from Microsoft.
- Note the KB number of the failing update (e.g., KB5077181 or KB5086672)
- Visit catalog.update.microsoft.com
- Search for your KB number
- Download the correct package for your system architecture (x64 for most PCs, ARM64 for Surface Pro X and similar devices)
- Run the downloaded .msu or .cab file as administrator
- Restart your PC when prompted
This method sidesteps Windows Update entirely and installs the files directly, which often succeeds even when the automated process fails.
Fix 9: Use Windows Recovery / In-Place Upgrade (Advanced)
If none of the above fixes have worked, your Windows installation may have deeper corruption that requires a repair install. An in-place upgrade reinstalls Windows over itself, replacing all damaged system files while keeping your personal files, apps, and settings intact.
- Back up your important files to an external drive or cloud storage first
- Go to Settings → System → Recovery
- Click Fix problems using Windows Update and select Reinstall now — this performs a cloud-based repair
- Alternatively, download the Windows 11 Installation Assistant from Microsoft’s official download page and run it, choosing Upgrade this PC now
- Let the process complete (it can take 30–60 minutes)
- After the repair, go to Windows Update and install any remaining patches
How to Prevent Error 0x80073712 in the Future
Now that your system is fixed, here’s how to keep it that way:
- Don’t interrupt updates. Never force-restart your PC while an update is installing. If an update seems to be taking forever, give it at least an hour before intervening.
- Keep your drive healthy. Run chkdsk periodically to check for bad sectors. Open Command Prompt as admin and run:
chkdsk C: /f /r - Pause updates briefly after major releases. Give Microsoft a week or two after a major update before installing it. This way, buggy patches (like KB5079391) often get fixed before they reach your machine.
- Maintain sufficient disk space. Windows updates require free space to download and stage files. Keep at least 10–15 GB free on your system drive.
- Run SFC and DISM regularly. A monthly scan takes 20 minutes and can catch corruption before it becomes a bigger problem.
Final Thoughts
Error 0x80073712 sounds intimidating, but in most cases it’s entirely fixable with the built-in tools Windows already gives you. Start with the Windows Update Troubleshooter, move to SFC and DISM if needed, and reset your update components if things are still stuck. For March 2026 update victims specifically, installing KB5086672 is your fastest path to resolution.
Microsoft’s update quality has been under serious scrutiny in 2026, and unfortunately, errors like this are becoming a recurring theme. Until Microsoft improves its QA process, knowing how to fix these issues yourself is a genuinely valuable skill. Bookmark this guide — you may need it again.
FAQs
Q1: What does Windows 11 error 0x80073712 mean? A: It means Windows Update cannot find or access one or more files needed to complete the installation. The files are either missing or corrupted in the Windows component store.
Q2: How do I fix error 0x80073712 on Windows 11? A: Run the Windows Update Troubleshooter first, then use the SFC (sfc /scannow) and DISM (DISM /Online /Cleanup-Image /RestoreHealth) commands in Command Prompt as administrator. If the error appeared in March 2026, install KB5086672 from the Microsoft Update Catalog.
Q3: Is KB5086672 the fix for error 0x80073712? A: Yes, but only if your error was caused by the failed March 2026 preview update KB5079391 on Windows 11 24H2 or 25H2. For other versions or causes, use SFC and DISM instead.
Q4: Will resetting Windows fix error 0x80073712? A: Usually you don’t need to reset Windows. An in-place upgrade (repair install) via the Windows 11 Installation Assistant is enough to fix deep corruption while keeping your files and apps.
Q5: How long does DISM /RestoreHealth take? A: It typically takes 15–30 minutes depending on your internet speed and the level of corruption. It may appear to stall at certain percentages — this is normal, do not interrupt it.
Found this guide helpful? Share it with someone who’s stuck on the same error. Have a fix that worked for you but isn’t listed here? Drop it in the comments below.